 User Manual
Last Updated: Jan 12, 2024
Welcome to the Botlife User Manual. This manual is designed to help you better understand how to use and create various lively and interesting character chat bots, and to share your creations with friends from all around the world, together experiencing the bots’ life that intertwines the virtual with the real.
Log in through a web browser at: botlife.ai.
After registering and logging in, you can browse various types of Bots created and made public by users on the default Explore main page;
You can view information related to a Bot by hovering over it with your mouse, or click to enter the main page of that Bot for more detailed information.
Bots visible on the Explore page are set to public by their creators, allowing any user to click on a Bot they like and engage in one-on-one chats. The chat content is completely private; Even the creator themselves cannot see the chats between other users and the Bot they created.
To start chatting, simply click the quick chat button on the Bot's icon, or click the chat button at the bottom of the Bot's main Info. page to enter the chat room;
On the left side of the chat room, you will see the Bot's image or video animation, while the right side is for text chatting.
Hey, the character Bot is already greeting you, so start your new and interesting private chat now~
Just as you see many vivid characters on the Explore page of the Homepage, you can also easily create your character. However, to train him/her/it into the ideal type, you may need to be more dedicated and possibly use some of the tips mentioned below. Good luck~
To enter the character creation interface, just click on + Create Bot in the top right navigation bar

Names are important.
The name can be 3-100 characters long, and may include letters, numbers, spaces, and special symbols. The Bot Name is not checked for uniqueness, so existing names can be duplicated.
If your name is that of a celebrity or a well-known entity (remember to write the full name of the character), then the bot can play this character archetype even without providing other specific details (however, we will introduce later how further training can make role-playing more vivid and interesting);
If your name is very generic, like 'Mary,' then the subsequent greeting and prompt become crucial in shaping a better chat experience.
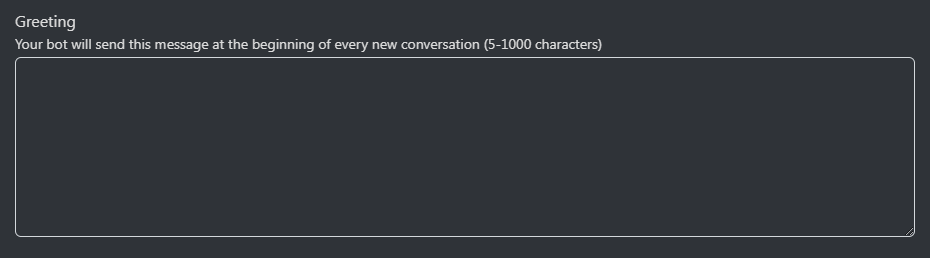
When starting a new chat, the Bot will first send out a greeting (opening remark), which is between 5-1000 characters;
The Greeting is very important.
Especially for unknown characters without other detailed descriptions, the opening remark is almost the entirety of defining the character and driving plot development;
If you want to create an impressive chat experience for the user, in addition to greetings like "Hello~" and "What would you like to talk about today?", you can also try adding some narrative about the plot in the opening to enhance the sense of immersion.
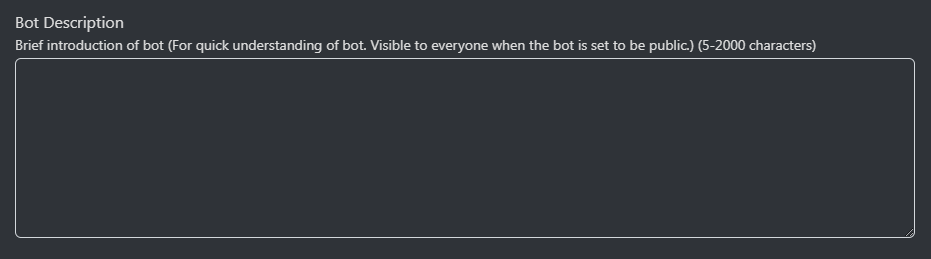
When your character is set to public visibility, everyone can see your Bot Description, which is a comprehensive description of the Bot you created;
Please write the description using the Bot's name or third person, within 2000 characters.
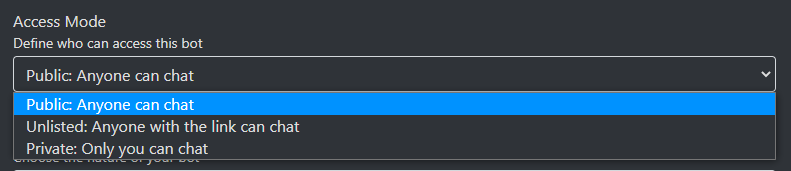
Define who can chat with this character. There are three options.
Public: The Bot will appear on the Explore page, and anyone can chat with it.
Note: We recommend that you set the visibility to Private during the creation and editing process of the character Bot, and only set it to Public after all creation and editing are complete.
Unlisted: The Bot will not appear on the Explore page. Only people who receive the browser link address of the Bot can chat with it; The link address for each Bot can be found by clicking on this Bot - Info tab - The Link at the very bottom.
Private: The Bot will not appear on the Explore page. Only you can see it on your My Bots page and chat with it.

Type A: Entertainment
These are entertainment chatbots, capable of playing various entertainment roles. They engage in one-on-one chats with users based on certain story backgrounds and character settings.
Type B: Professional
These are functional chatbots, capable of playing professional roles. For example, as teachers, lawyers, psychologists, etc., they provide professional answers or advice through one-on-one chats.
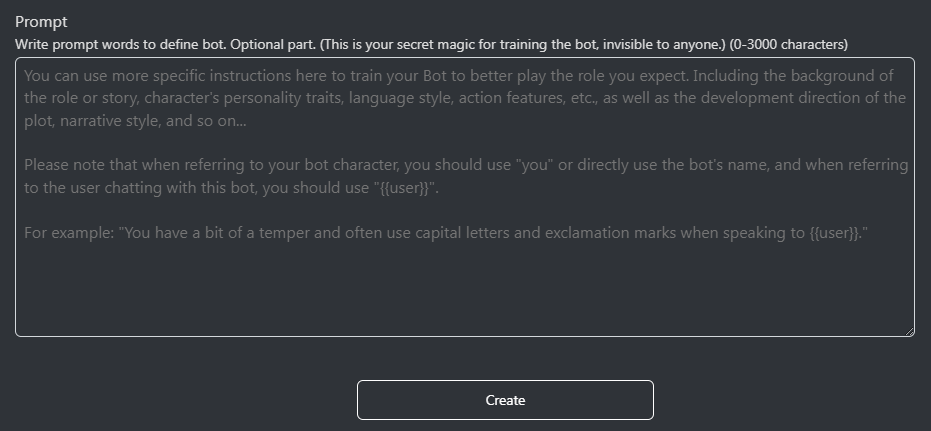
Oh, I'm not going to write prompt words are important. Hahaha
If your opening greeting are well-crafted, we can indeed start having great conversations with characters.
However, we can do even better, whether it's creating a unique style for an unnamed new character, or taking a famous character beyond their original personality settings, all these can be redefined through prompt words.
The content of prompt words includes, but is not limited to: the character's temporal and spatial background, identity preferences, personality traits, language style, abilities, physical features, etc.
After completing the six steps above, click 'Create' button, and your character's core (soul) will be generated!
If you need to make modifications, you can find the Bot you want to edit under 'My Bots', then click the first Edit Icon below the character's avatar:  to return to the Basic Information Editing Panel for modifications. Don’t forget to click 'Save' button after making the changes.
Next, let's create its appearance (body) to make it even more lifelike!
Find the Bot you want to edit on the 'My Bots' page, click the second Edit Icon below the character's avatar
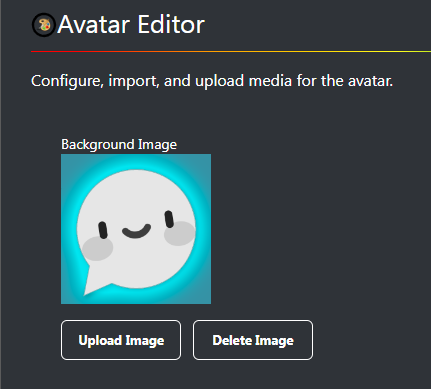
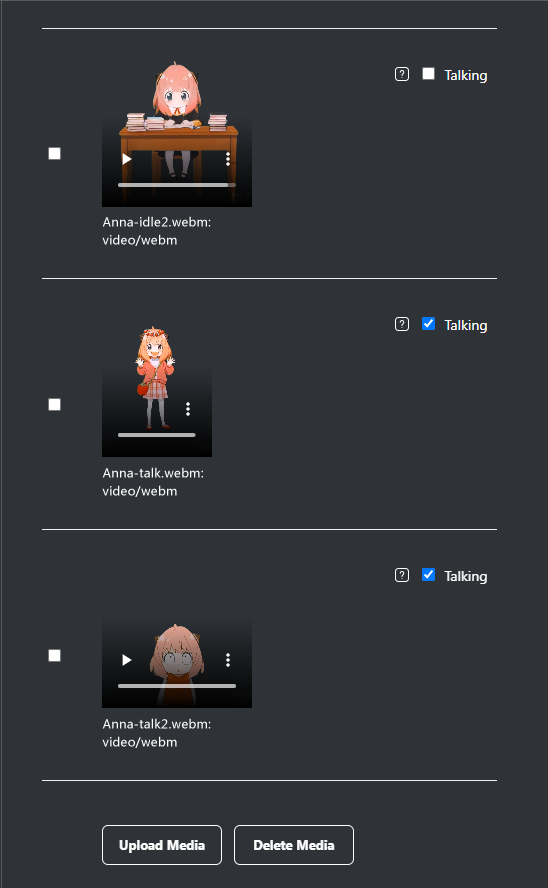
 to enter the Avatar Editing Panel . Here, you can edit the avatar images and animation videos for your character Bots.
If you do not proceed with subsequent steps to add animation videos for the Bot, this avatar will be the only visual identity of the character, appearing as a static image in the chat room.
Supports multiple image formats (jpg, png, gif).
Recommend a size within 512x512
The loaded animation videos will be automatically triggered during a chat with the Bot.
Currently, two types of animations are available: Idle and Talking . The idle animation is triggered when the Bot character is idle (not replying to messages), and the talking animation is triggered when the Bot character is talking (replying to messages).
When uploading a talking animation video, remember to select the Talking option 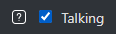 Videos not marked as such will default to idle animations.
Currently supported video formats include mp4, gif, webm, etc.
The uploaded video resolution must have a maximum width of 480px and a maximum height of 720px (videos exceeding these limits will be automatically compressed to within 480x720).
Free users can upload one animation file for each type (idle & talking), while subscribed users can upload multiple animation files. Multiple animation files of the same type
If you have better methods, please feel free to contact us. We will update the Manual in real-time to share with more users and attribute you.
1) When creating multiple animation videos for character, you can use the same or different original character images. Different initial images can present the action effects of characters in various states. (For example, sitting idle and standing idle).
If you aim for consistency in character appearance and coherence in action transitions, you can unify the size of characters in multiple original images before creating the video.
2) If you want to display better character animation effects in chat rooms, you can remove the background from the original character images and use a green screen method to create the video.
For character images with removed backgrounds, it's recommended to fill the new background with green color RGB (0, 255, 0), then create the video, and finally export a video file that supports a transparent channel.
3) When exporting video files, find a balance between quality and export file size by choosing the appropriate bitrate and other options. (Too large video files can increase the loading time of animations during chat, potentially causing lag, while too low video quality will reduce the dynamic expression of characters).
It is suggested that each video should be within 4 seconds in length, with a resolution width of 480px (height not exceeding 720px), and a size within 600k.
4) You can get inspiration and assistance for production from commonly used image/video generation AI software.
On the 'My Bots' page, find the Bot you wish to edit, and click on the last edit icon below the character's avatar:  to enter the voice editing panel.
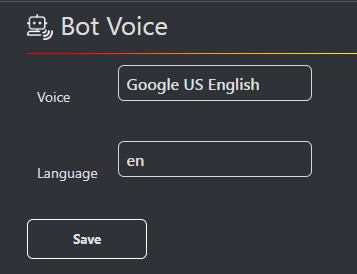
Click on the Voice option box to choose a voice that suits your character bot. The voices available in the option box may vary depending on the browser.
Stay tuned for more voice options.
For more assistance with character design, animation video production, voice, etc., please visit the community forums to view posts related to experience sharing, or contact us via email at:: supports@botlife.ai
At this point, your Character Bot is fully created!
By setting the Bot's Access Mode to Public: Anyone can chat . Other users will be able to see your Bot on the Explore page and interact with it through chat.
Please be aware that creating animated videos for your Bot might take some time and production experience. You may not need to get everything perfect in one go, but instead, continuously optimize your animation video to gradually improve the performance of your Bot.
Best of luck!:
You can join the official Botlife Discord Server or log in at X.com/Botlife to chat with other Botlife users, share creative tips, seek help, or share your character creations.
Before seeking help in the community forum, please carefully read the user manual above and the following frequently asked questions and answers.


